Relic restoration
Posted: Tue Mar 18, 2014 11:41 am
Hi guys,
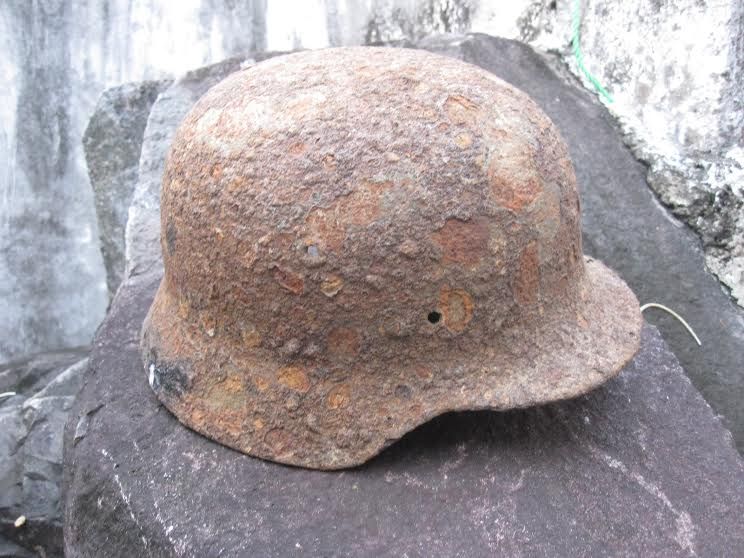
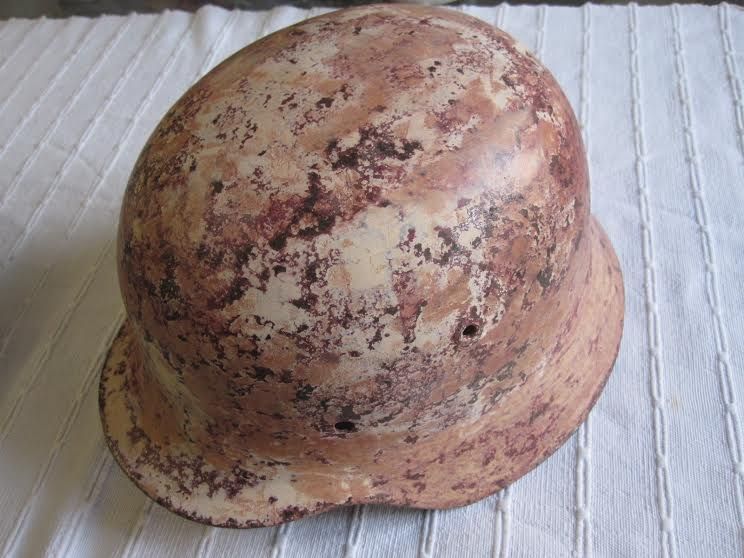
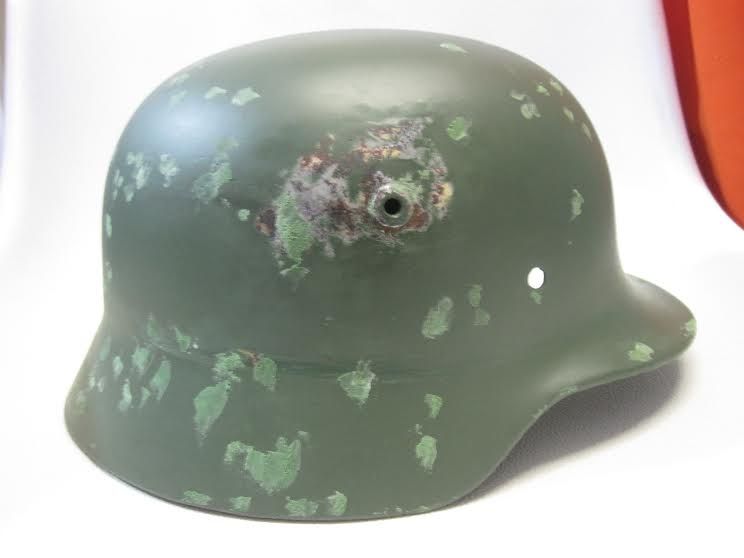
This is my first post here, even jointed for years. I am always have a passion to overhaul a relic helmet, but need a strong relic shell and must in my size, finally won a relic M40 size 64 (my size is 66) shell from Riga Latvia from ebay for only $41 with $37 postage.
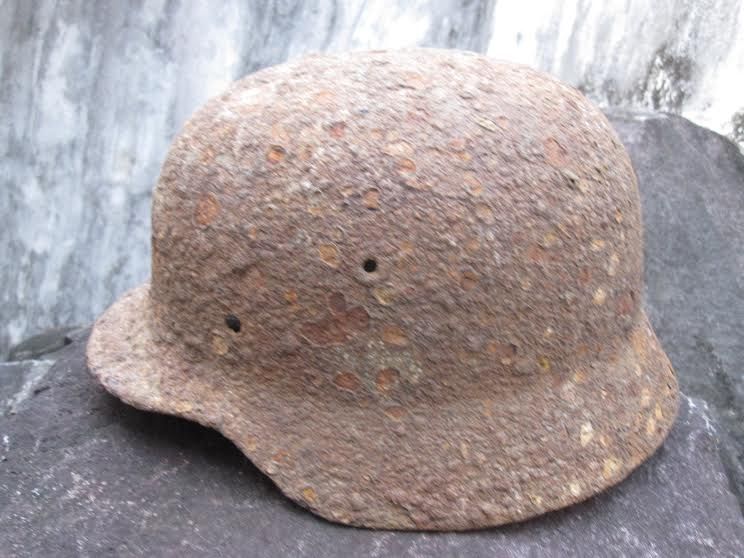
Spent a week to remove the rust by vinegar, as never try electrolysis or citric acid before.
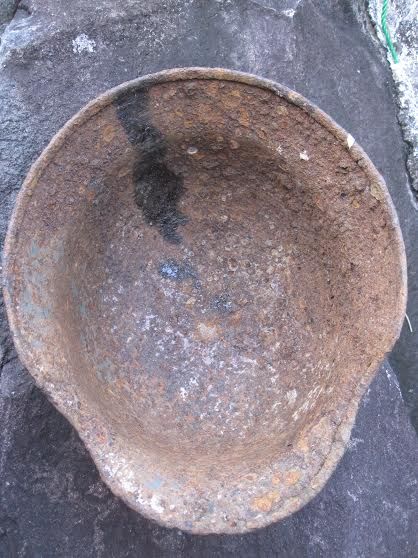
Removed the loose rust by wire brush and soak in baking soda to naturalized the acid, filled the dents by auto filler and putty when dried and polish to smooth by sand paper.
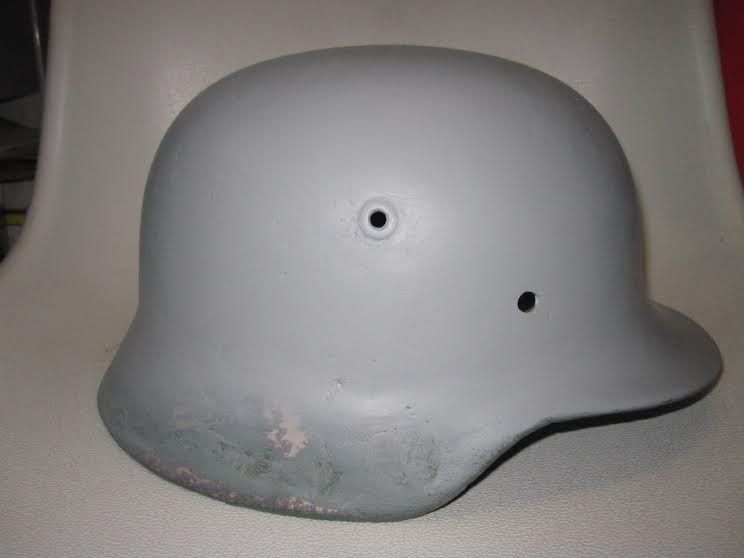
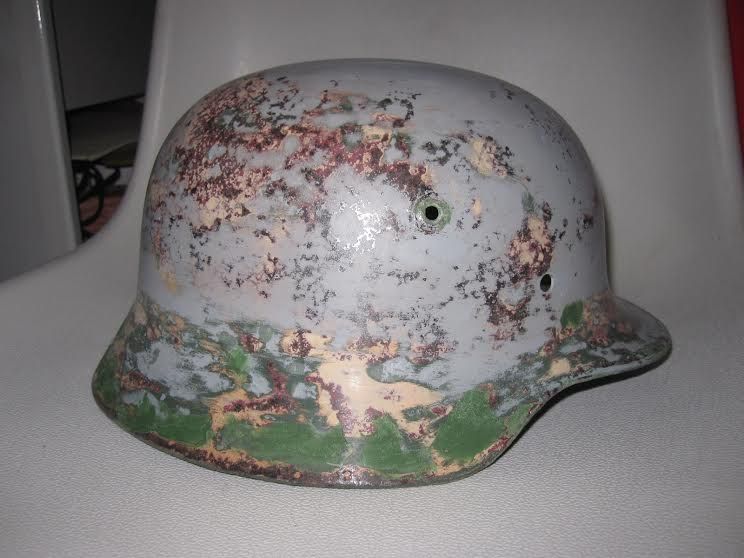
Repeat this process many time after spray a matt color coat to detect the defects.
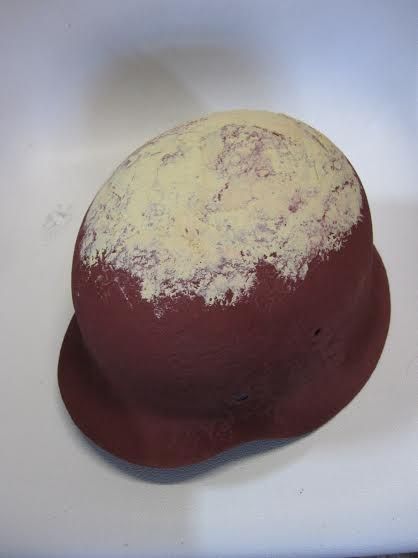
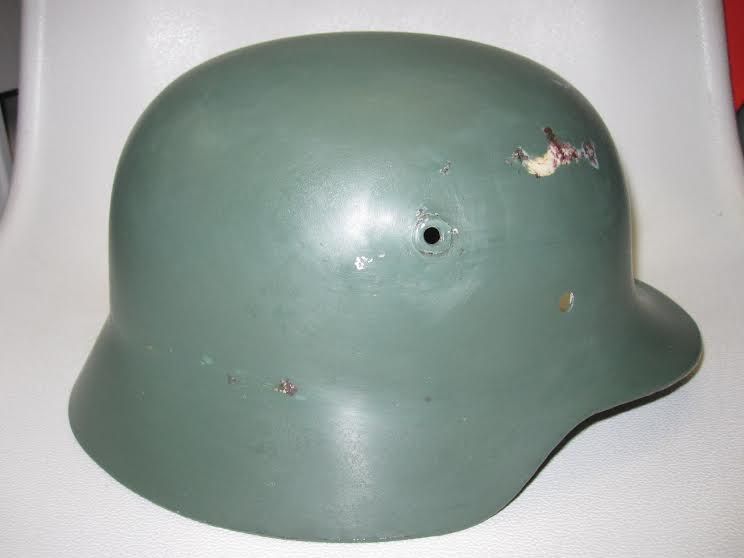
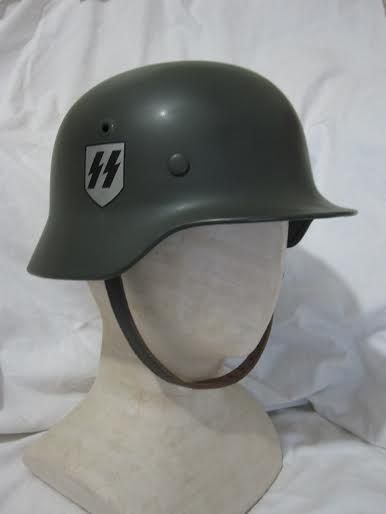
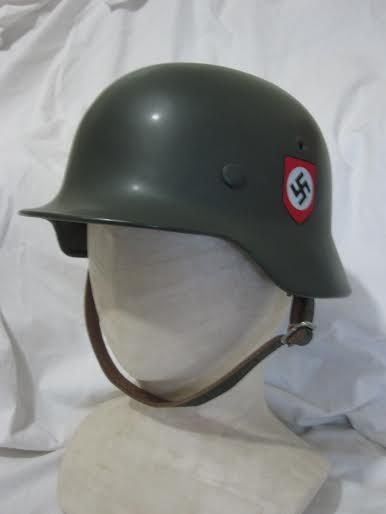
Took around three weeks to reached the perfect smooth, then spray the final color coat. Tamiya spray AS24 Luftwaffe Dark Green.
Applied the decals from John Brantley of Military Helmet Decals, and sealed by Mr. Hobby Mr. Super Clear Flat.
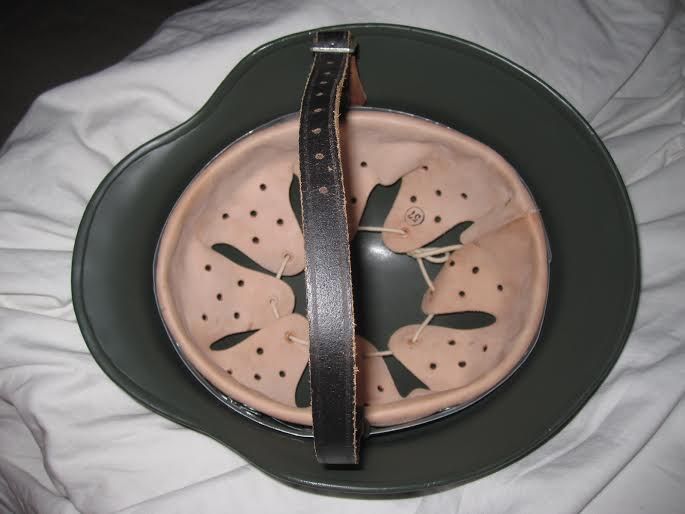
Split pins, liner and chin strip are from Czech.
So here it is, but never again, my finger tips got infection and took three months to heal.


This is my first post here, even jointed for years. I am always have a passion to overhaul a relic helmet, but need a strong relic shell and must in my size, finally won a relic M40 size 64 (my size is 66) shell from Riga Latvia from ebay for only $41 with $37 postage.
Spent a week to remove the rust by vinegar, as never try electrolysis or citric acid before.
Removed the loose rust by wire brush and soak in baking soda to naturalized the acid, filled the dents by auto filler and putty when dried and polish to smooth by sand paper.
Repeat this process many time after spray a matt color coat to detect the defects.
Took around three weeks to reached the perfect smooth, then spray the final color coat. Tamiya spray AS24 Luftwaffe Dark Green.
Applied the decals from John Brantley of Military Helmet Decals, and sealed by Mr. Hobby Mr. Super Clear Flat.
Split pins, liner and chin strip are from Czech.
So here it is, but never again, my finger tips got infection and took three months to heal.


